![become1_Logo_black.png]](https://help.become1.de/hs-fs/hubfs/become1_Logo_black.png?width=100&height=33&name=become1_Logo_black.png)
Through the become.1 employer portal, you have the opportunity to create your own, become.1-independent benefits, such as company pension schemes (bAV), discount portals, or company bike leasing. This ensures your employees are always up to date on which benefits you offer as an employer and provides a single source of truth for benefits, strengthening your employer brand!
Step-by-Step Guide:
- Log in as an administrator on app.become1.de.
- Select the Custom Benefits (Individuelle Benefits) tab from the left menu.
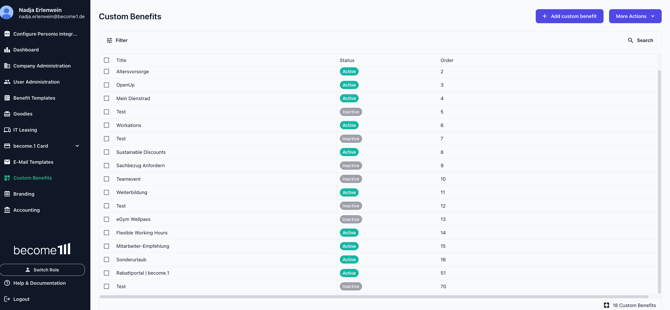
- Click on + Add.
- Choose a suitable image for the new benefit and upload it via the upload area (click to browse your device or upload via drag & drop).
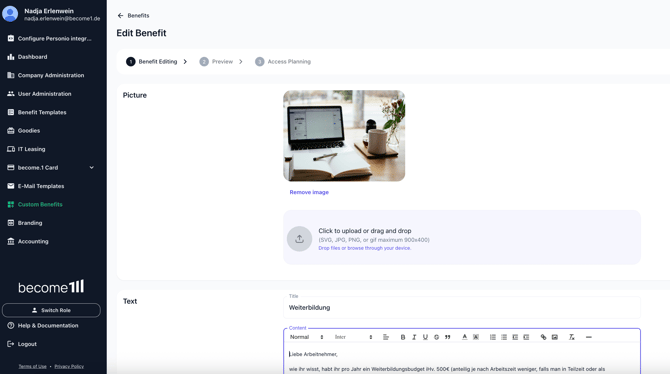
- Assign a suitable name and a description for the benefit. The description should clarify the added value and the advantage for the employees, including a clear process description, if available.
- Under Call To Action, you can name the button at the very bottom of the new benefit and link the external portal for employees using the respective URL.
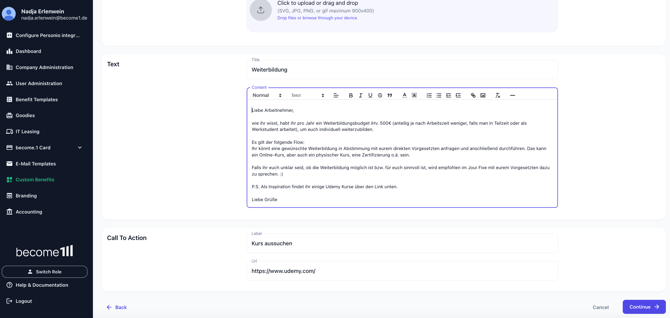
- Click on Continue.
- Now check the preview for the mobile and desktop view. If everything is set up correctly and looks good, click on Next at the very bottom of the page.
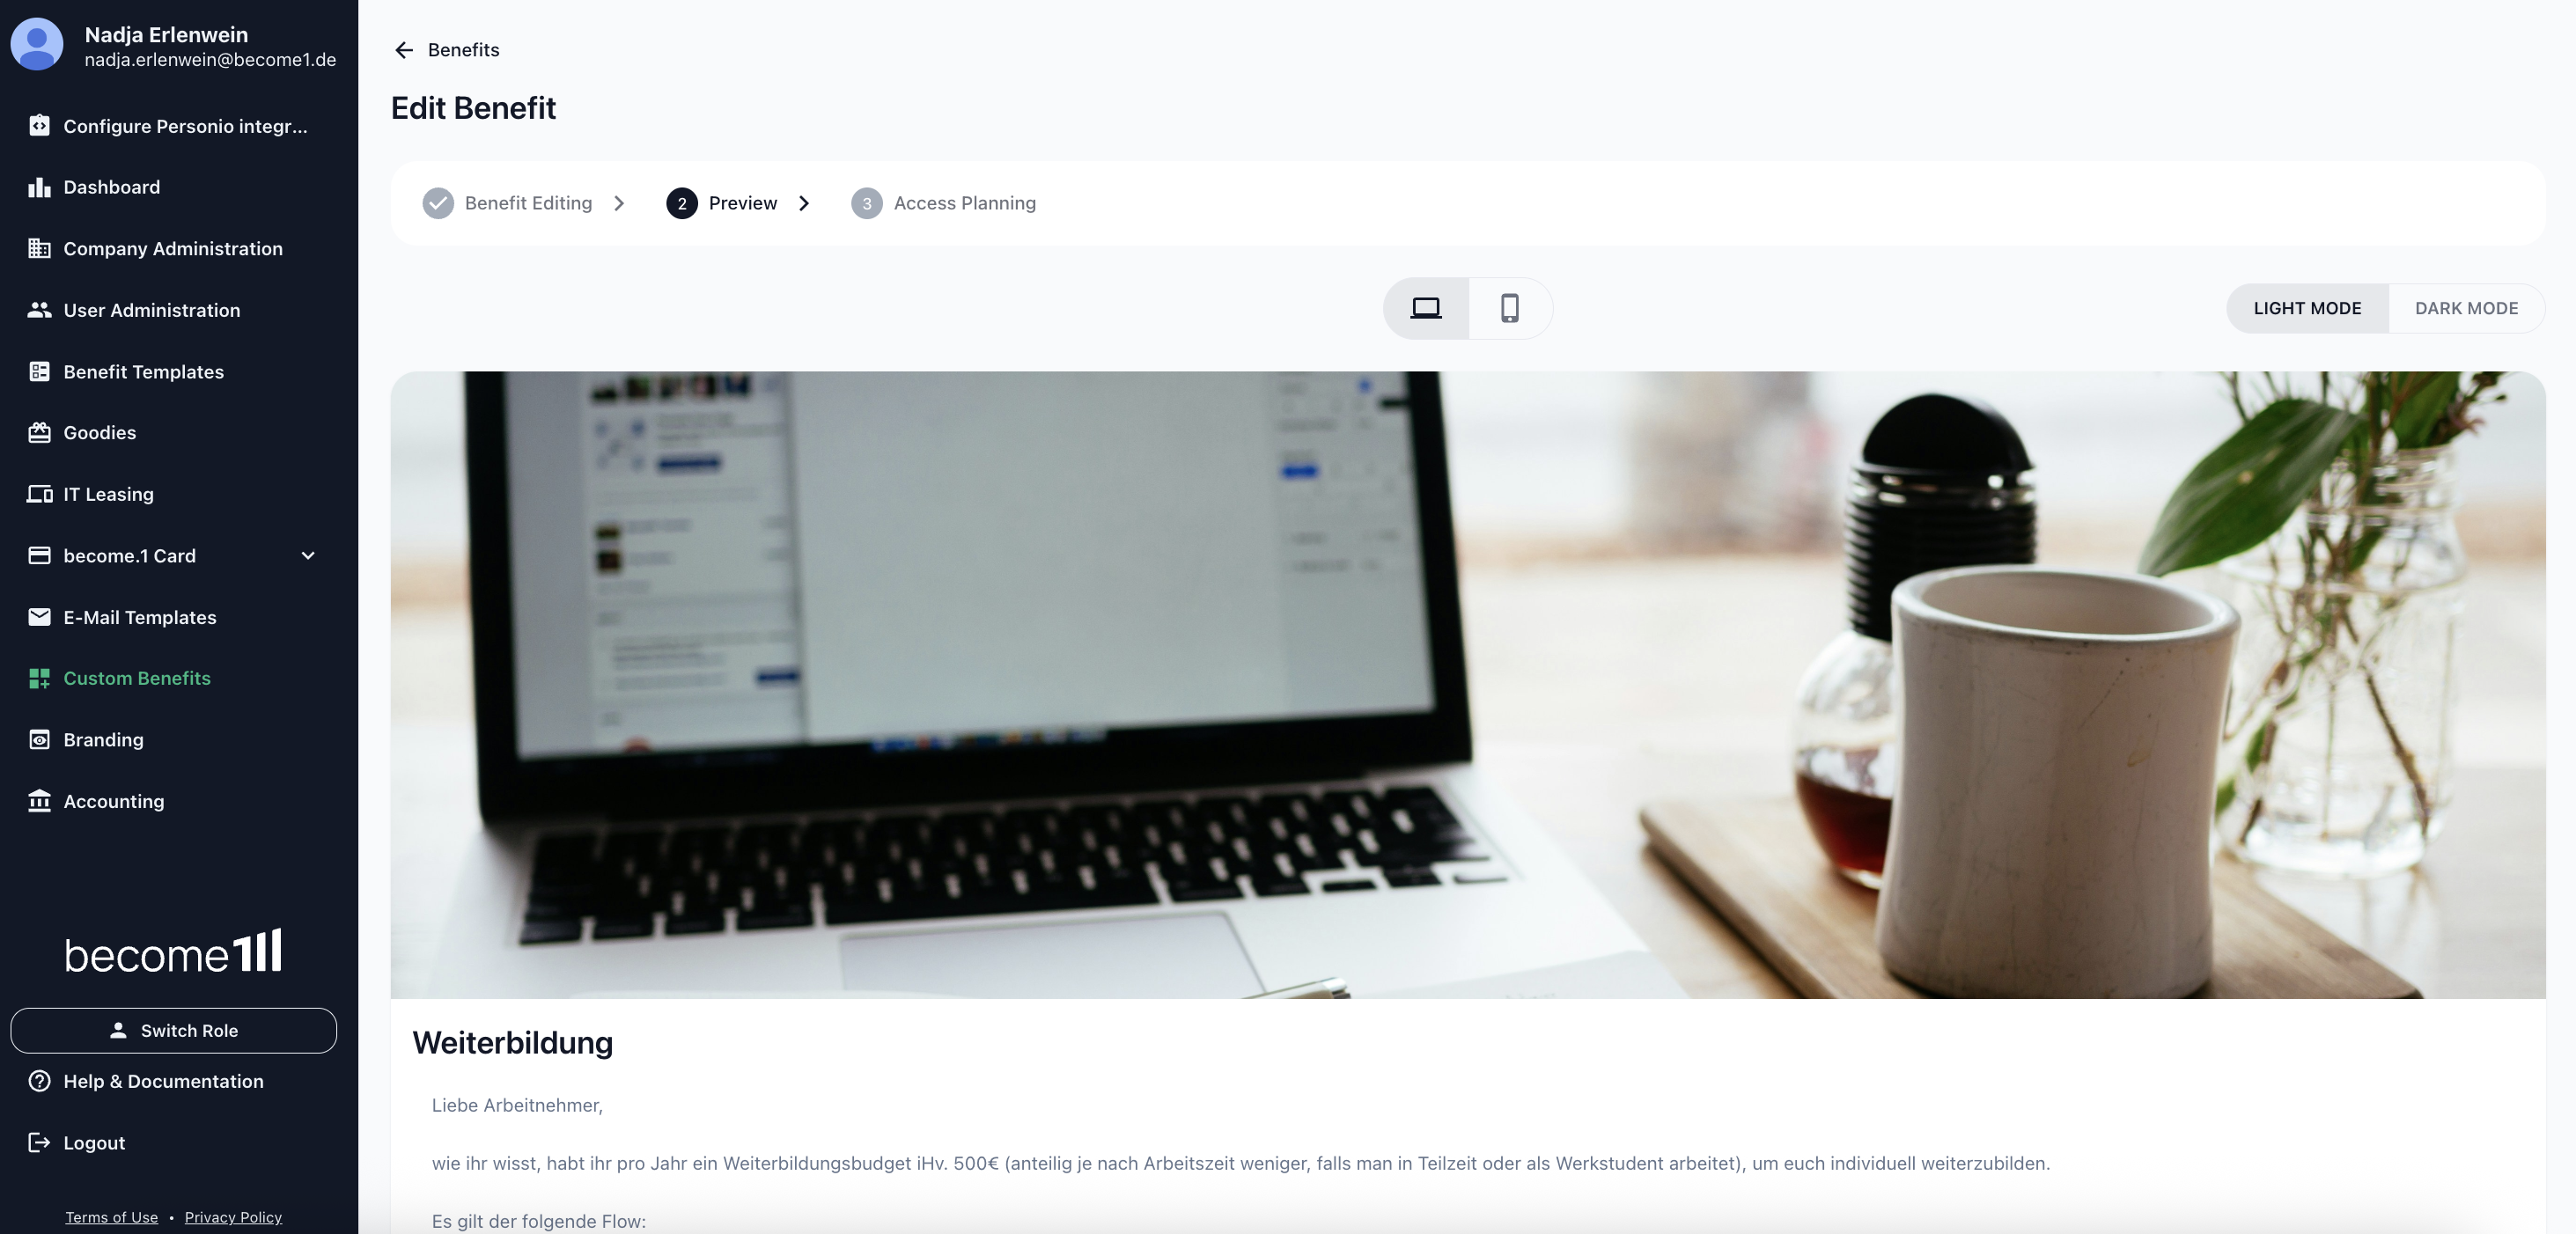
- Under Status, select whether you want to activate the benefit immediately. You can also choose to do this at a later time.
- If you manage multiple companies, you can specify under Enable companies whether the benefit should be visible to individual entities or to all of them.
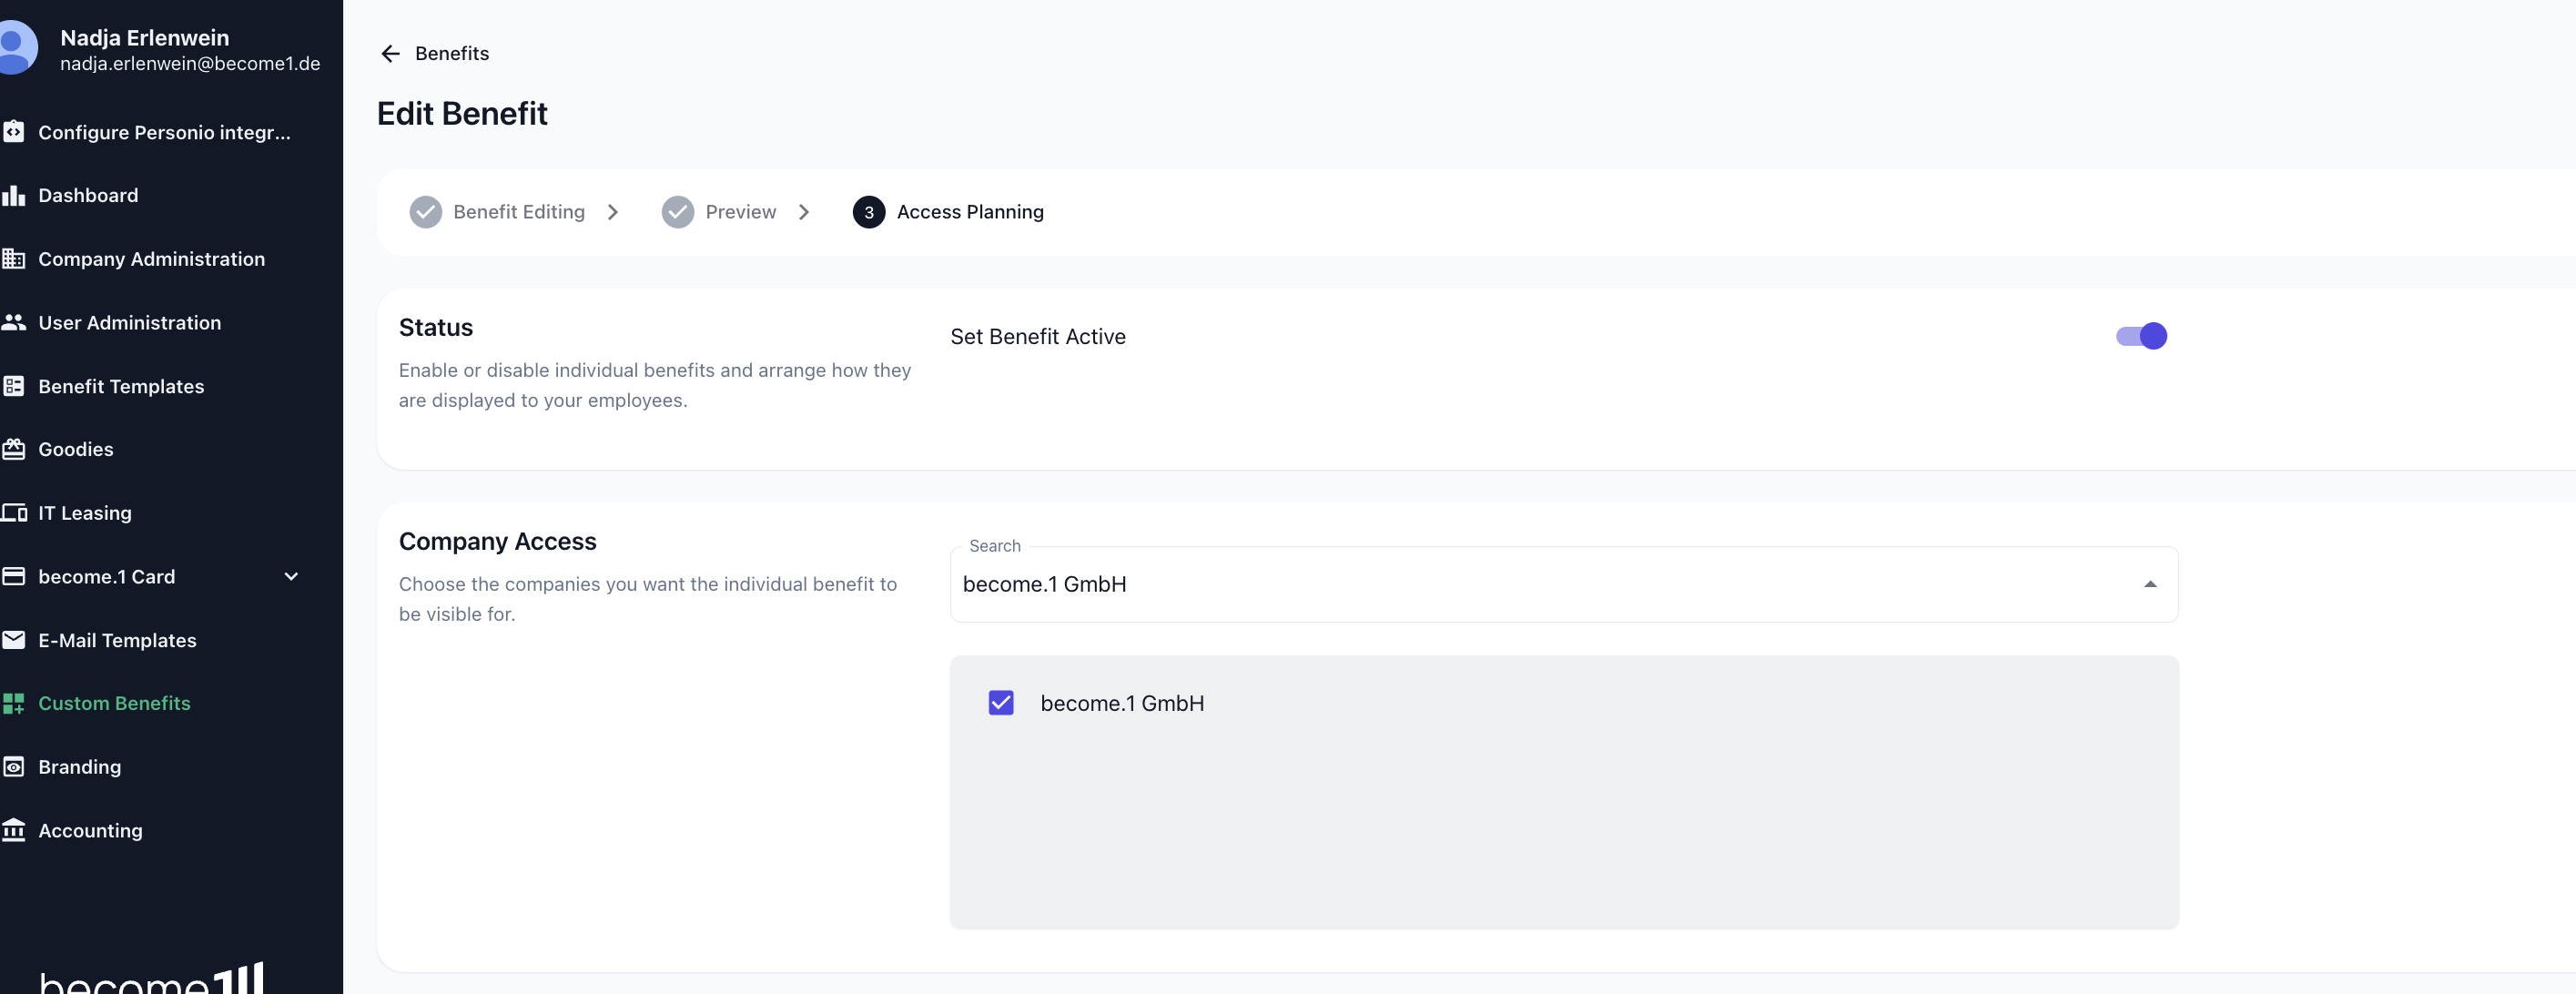
- In the lower section of this screen, similar to the previous step, you can define whether all employees of the selected entities or only specific employee groups (which you set up in the user management) can view the new benefit.
- Optional: If desired, you can determine the order, meaning the exact position where this benefit should be displayed on the user dashboard (the homepage for employees).
- Under Visibility, decide whether the new benefit should also be listed as a menu item in the left menu bar for the employees.
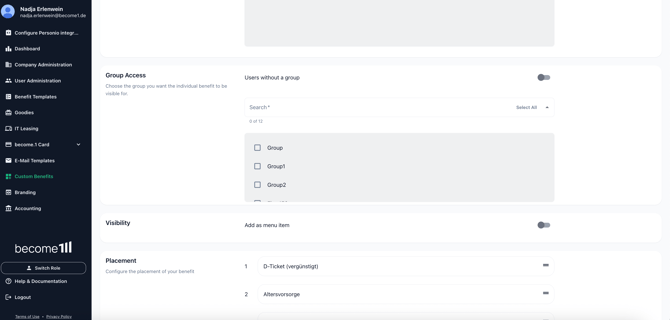
- Click on Publish.
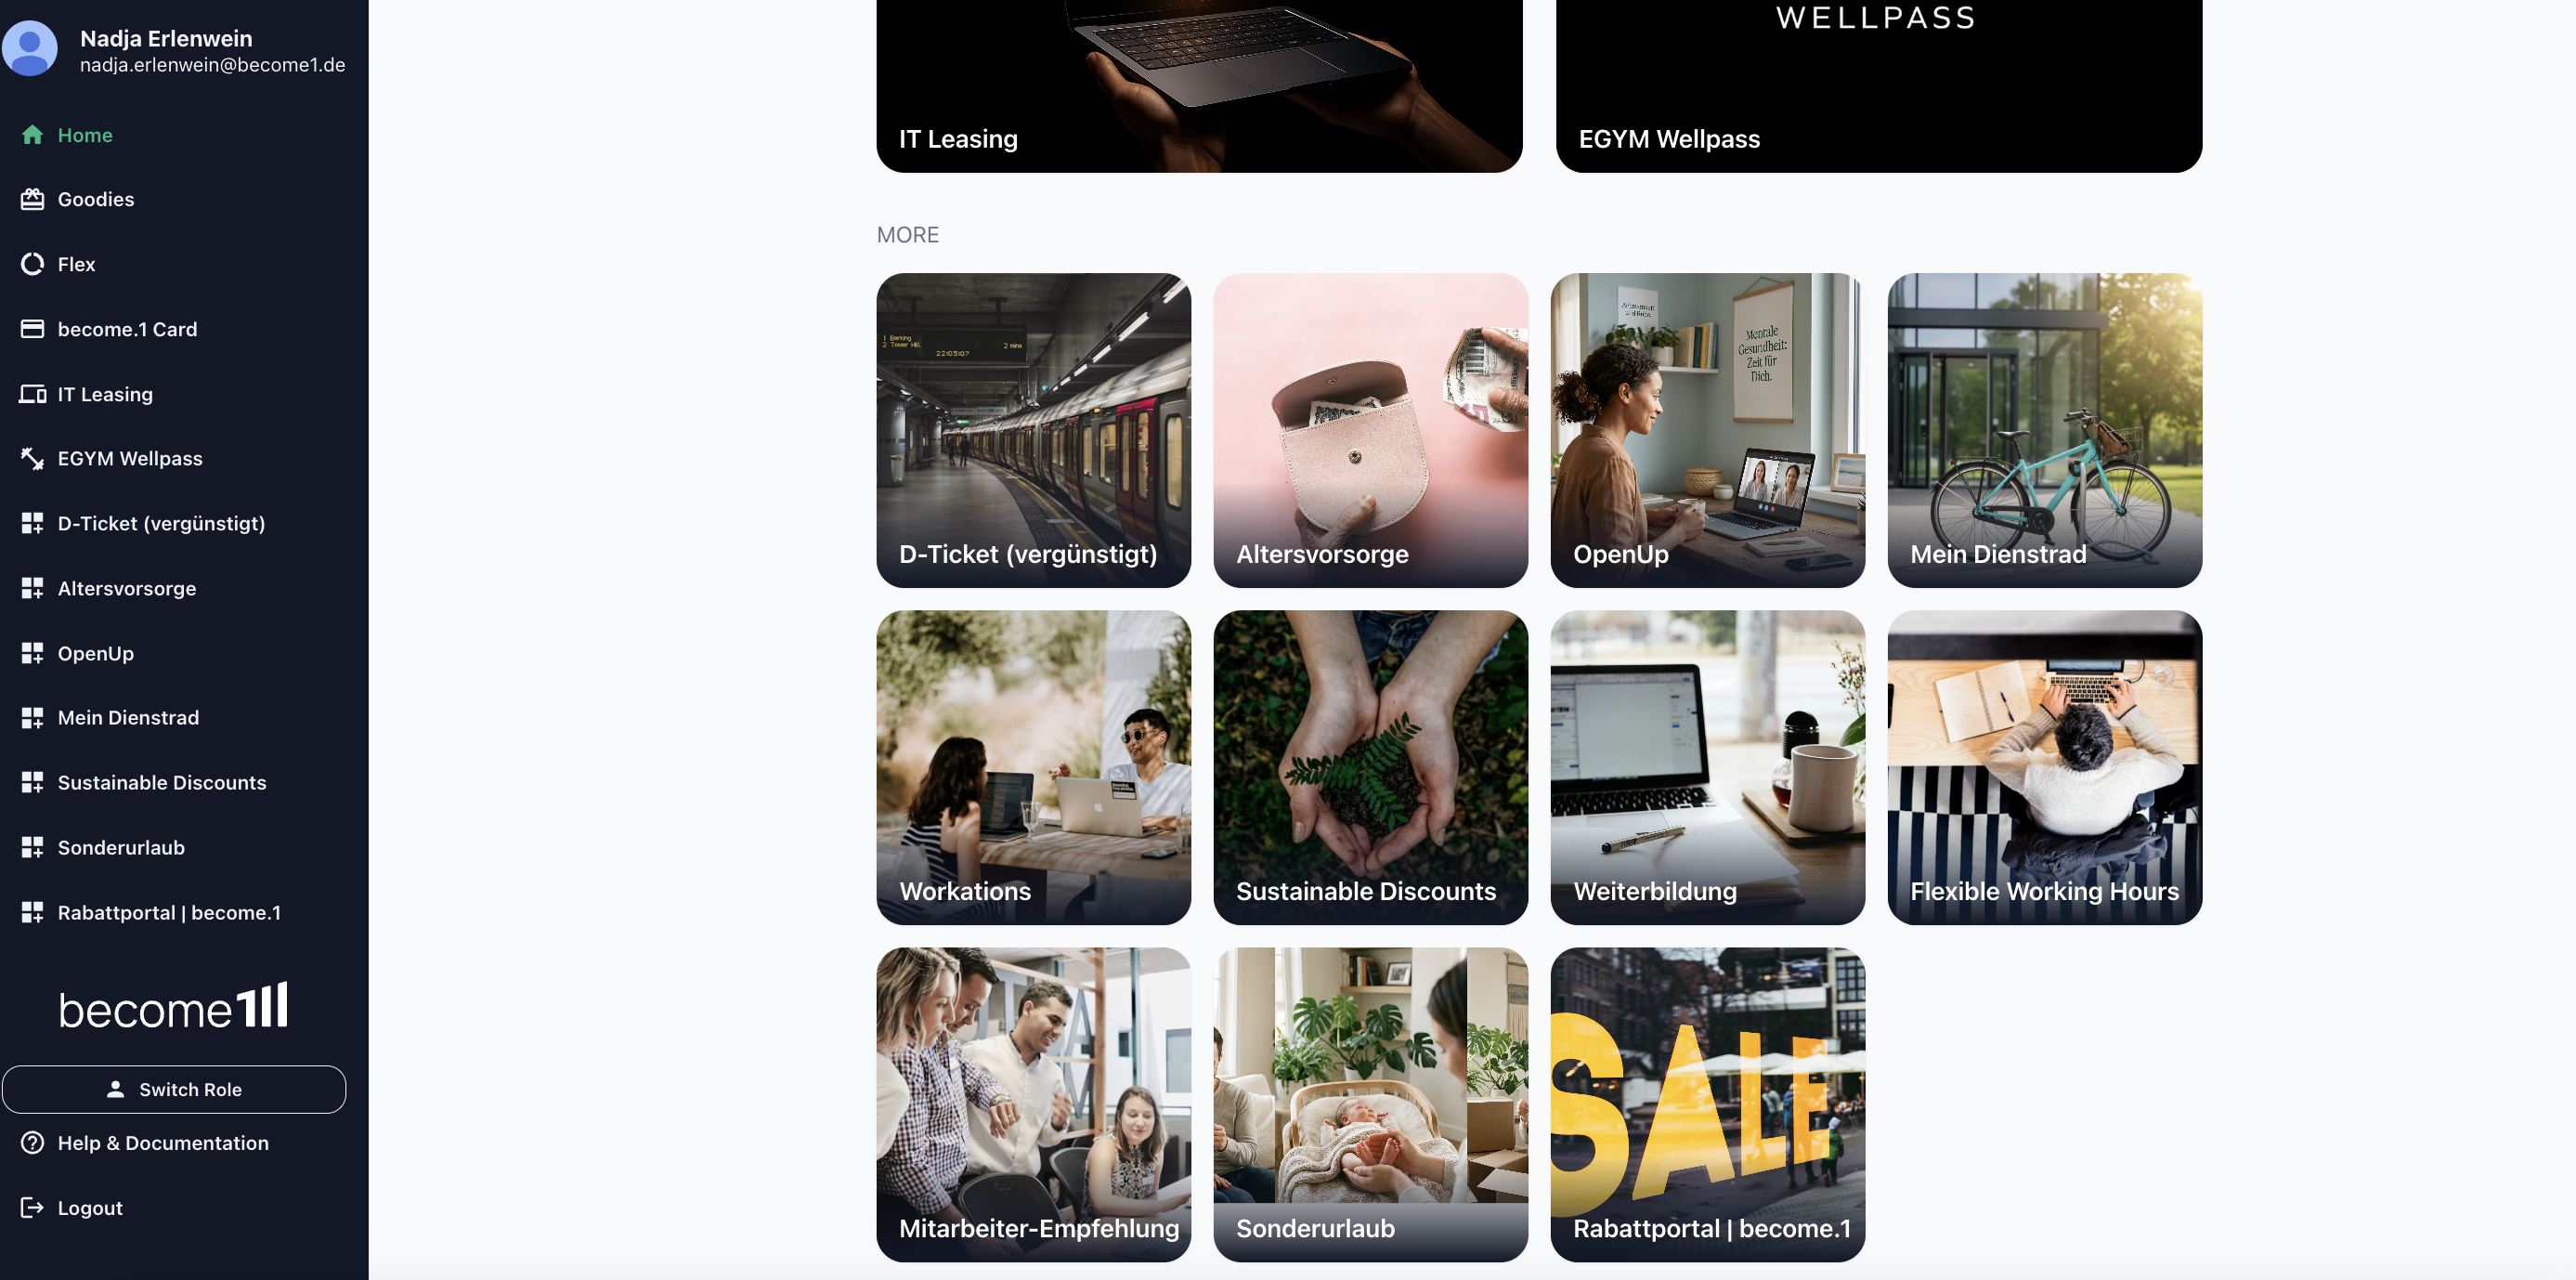
You can now see the individuell benefit in the user view
Any questions?
If you're still having trouble following the instructions or if you have a special case, just send us a message at support@become1.de or message us via chat.